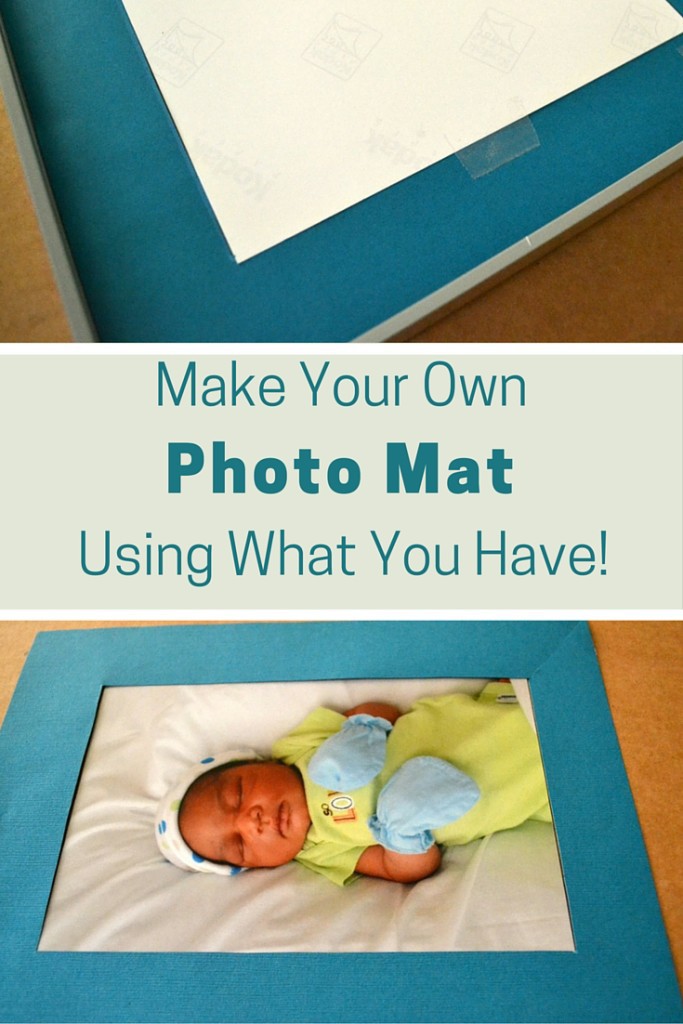
A DIY photo mat is a lovely way to make your memories stand out. But it can also be a quick-fix when you have the wrong size frame for the photos you want to show off! *raises hand*
You may be thinking: But, Toia, why don’t you just buy a frame that fits?
Well… cuz I don’t wanna! LOL! 🙂 Here’s what had happened.
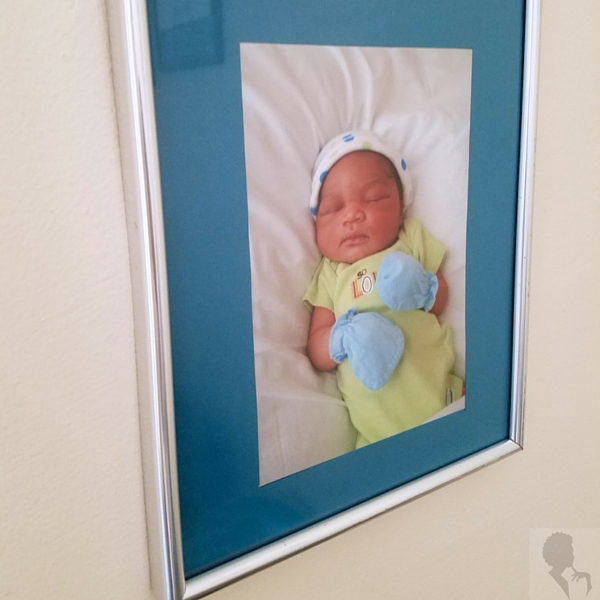
In my first post about Micah’s teal and gray room fix-up, I showed you a couple of the photos that I was all set to hang up in the room.
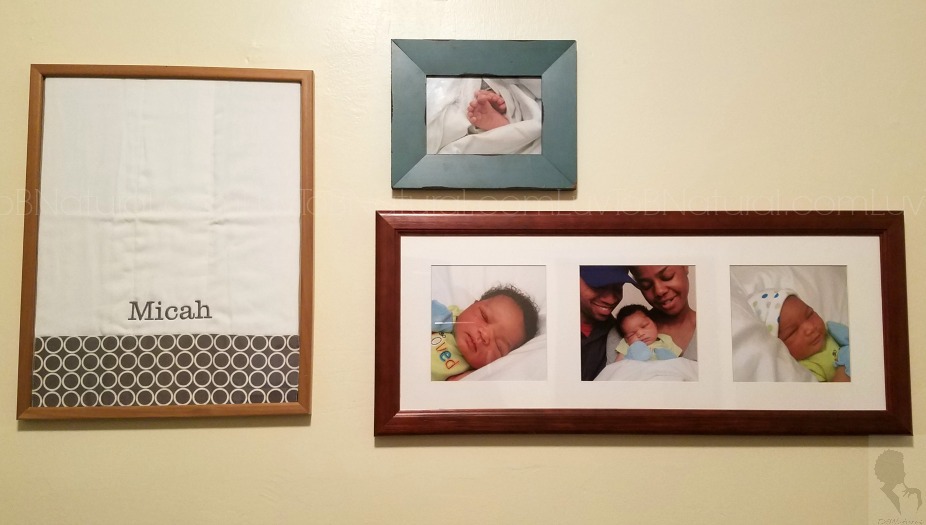
It was cool until I unpacked this three-photo frame and noticed that the same pic in the silver frame was already in there…
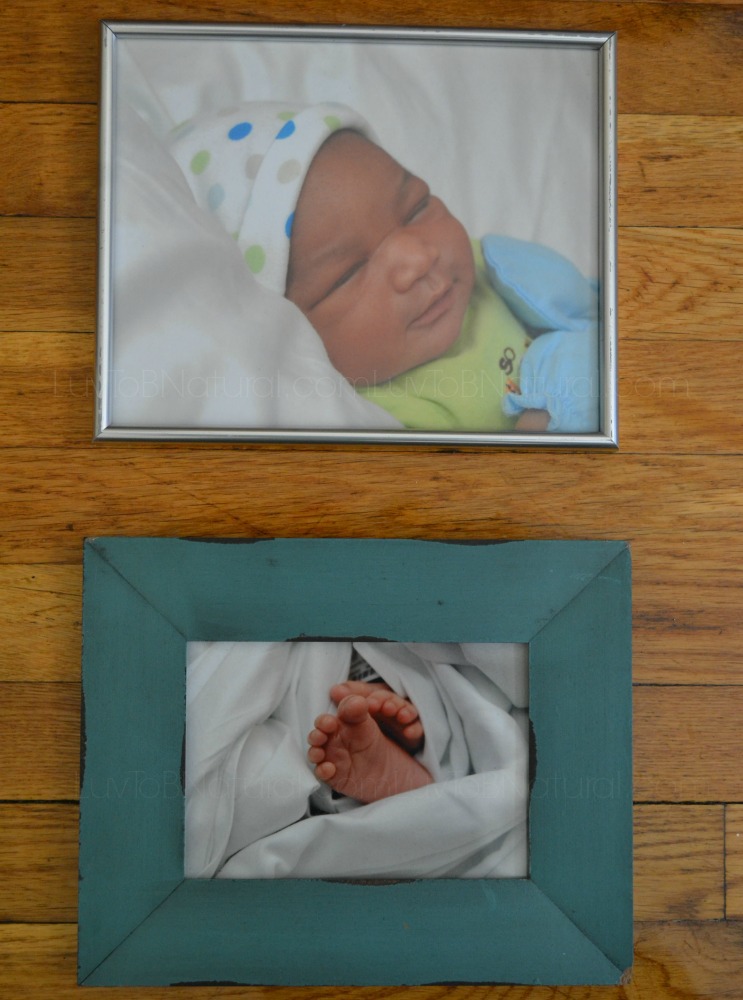
Well, I obviously don’t need to have the same photo up twice but, no problem, I’ve got others. Onlyyyyy all of the other photos are smaller than the 8×10 frame. Gaaaah!
Now, they did give us a flash drive of our images so I could have very well just printed another photo of the right size. But I decided to use this opportunity to get my DIY on!
What I Used
- 12×12 scrapbook paper from a previous project (Michaels)
- Scissors
- Scotch tape
- Pencil
- Ruler
DIY Photo Mat Steps
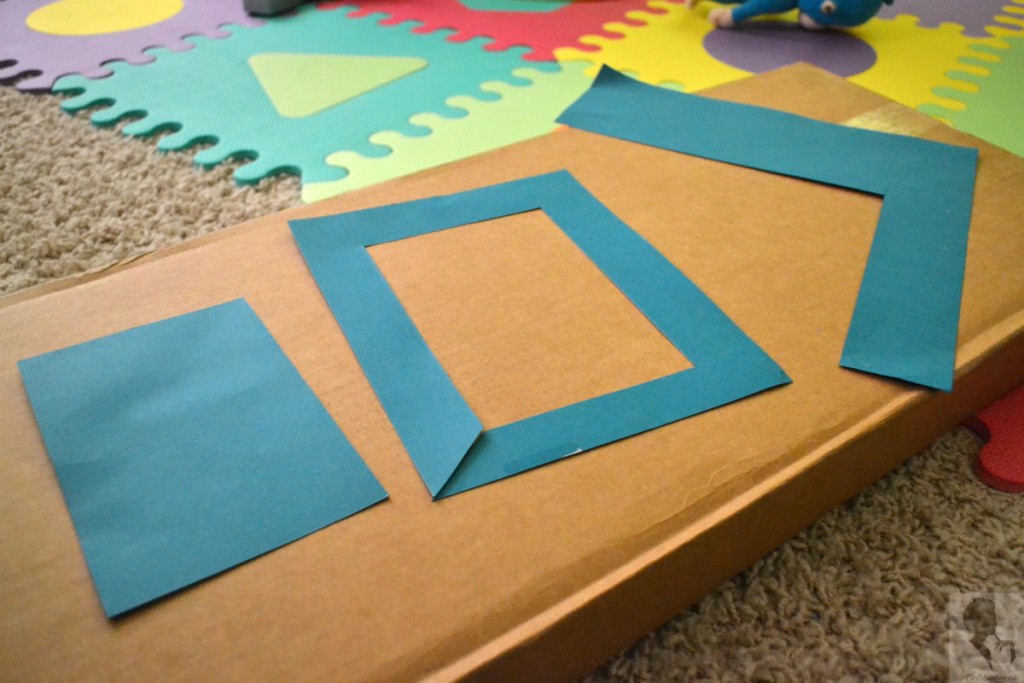
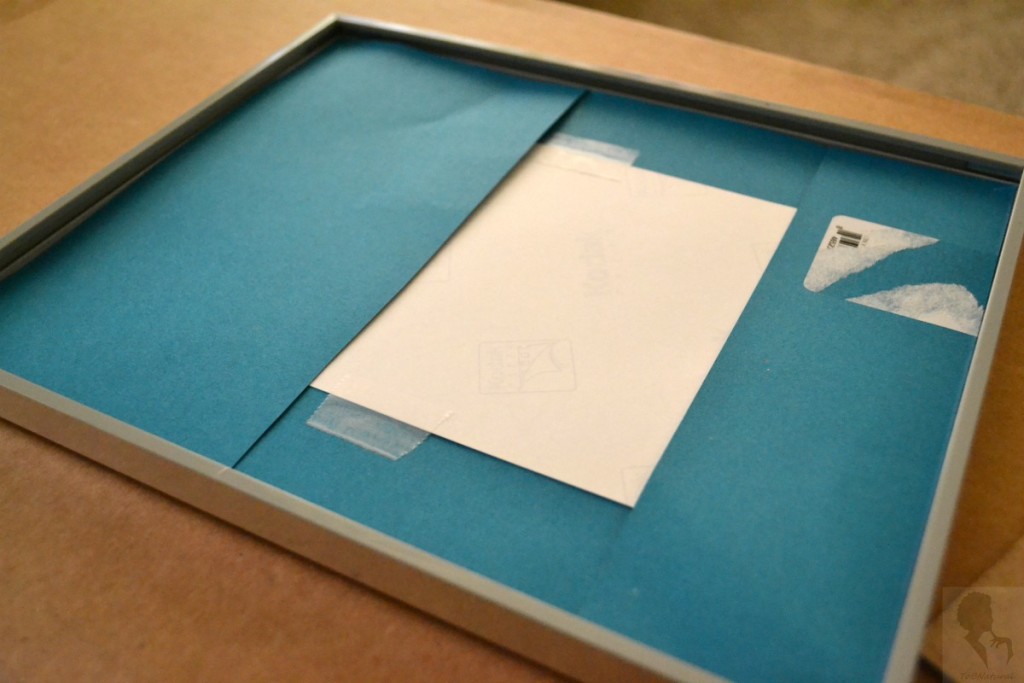
I started by measuring out 8″ by 10″ for the size of the frame and cutting that out. I then measured 1 ½” in from each edge and used the new (5×7) photo as a guide to outline the shape on my now 8×10 paper.
{Sorry, I have no pics of the measuring process but I’m hoping between my description and photos, you get it!}
Normally, I’d use hubby’s X-acto knife for the next step but, with no idea where that’s been since our move, I grabbed the scissors. To get an accurate cut, I did a little “cheat” by carefully cutting into the paper from a corner.
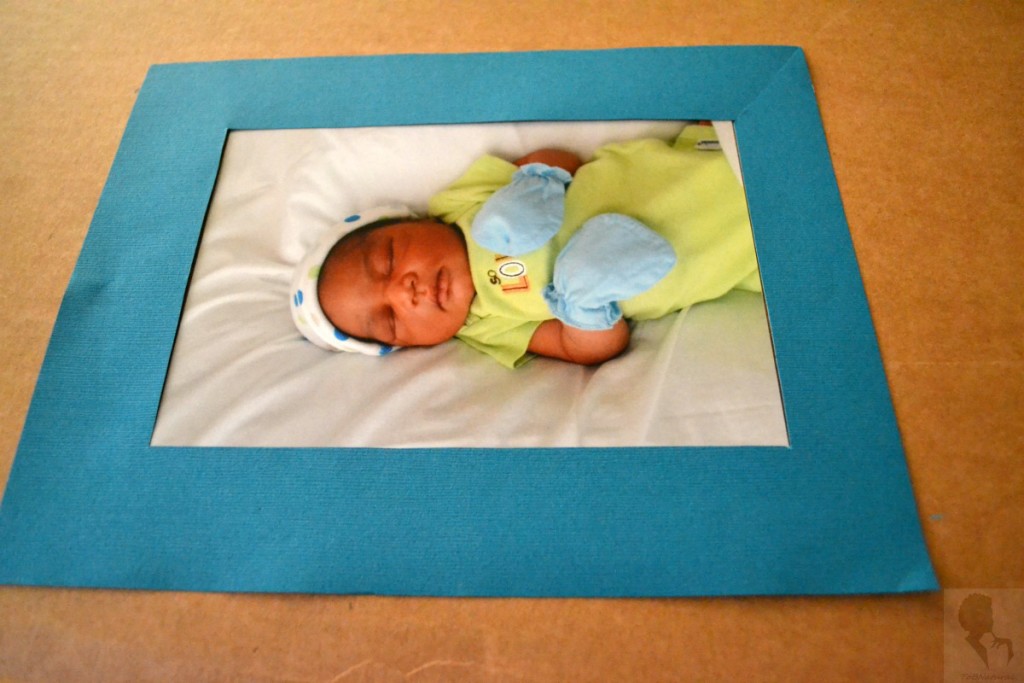
And there’s my mat! 🙂
To make sure the picture stayed in place, I applied two pieces of tape to the back and affixed it to the mat.
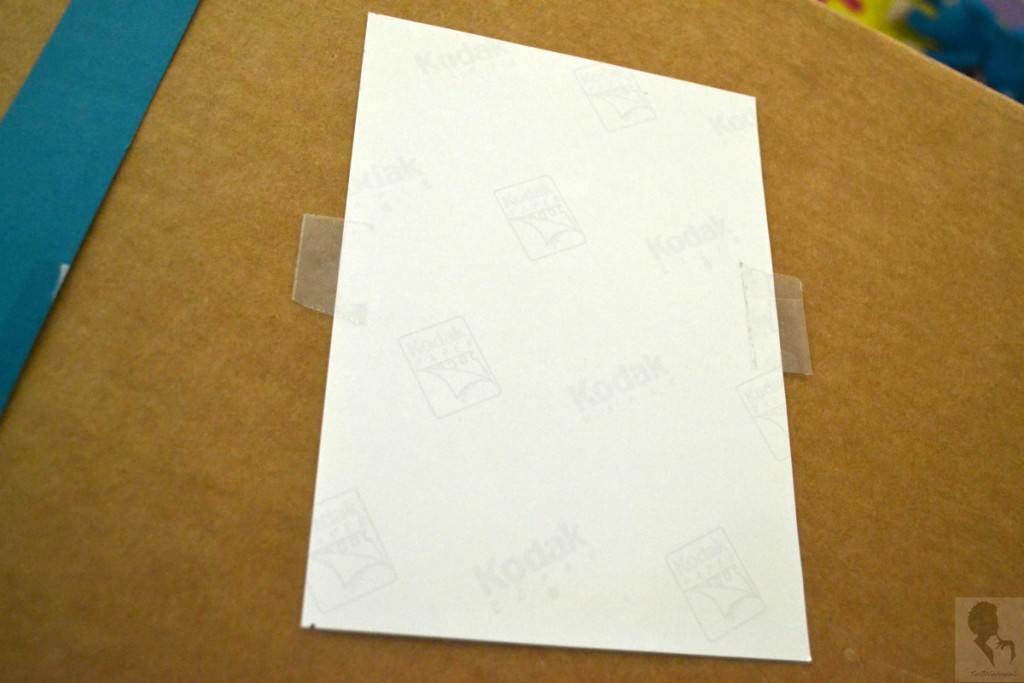
I also placed a piece of tape on that corner I cut into.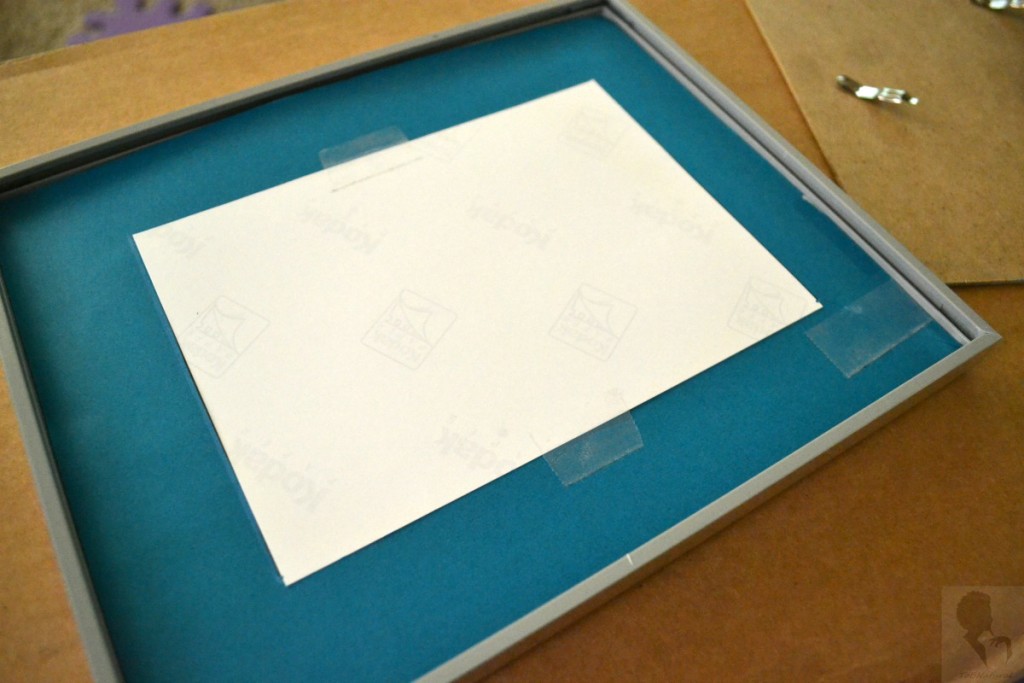
As I was working, I noticed a tiny space between the photo and the mat. I realized maybe I should have made the cutout just a tad bit smaller than what I needed to make sure the photo was well-covered with no spaces.
Make Your Own Photo Mat Using What You Have! Click To Tweet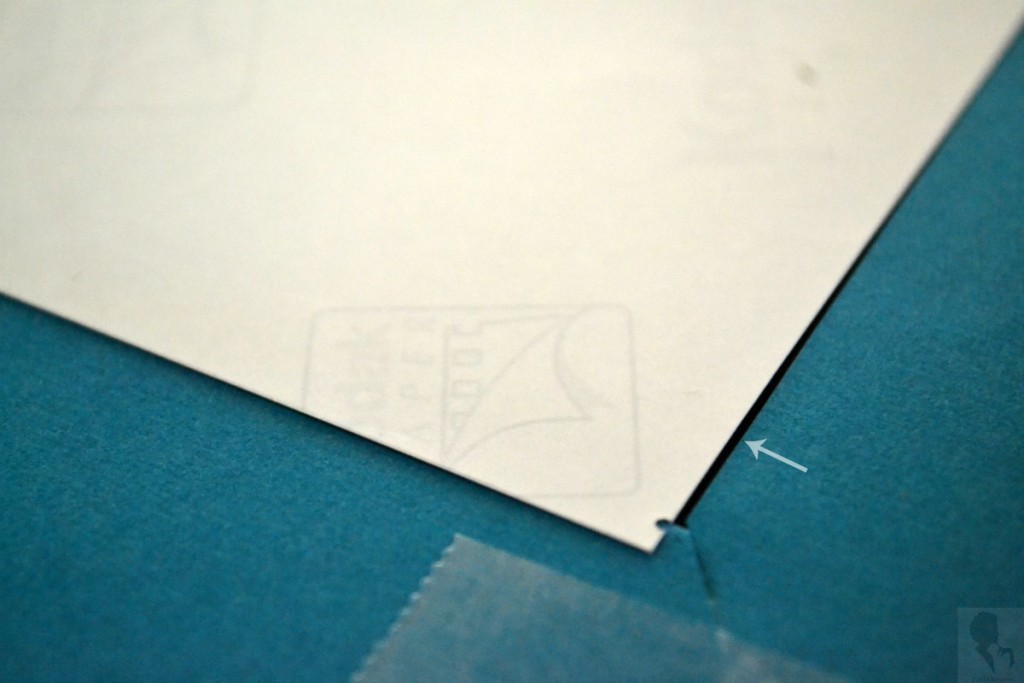
Since this was the only piece of paper I had, I just used the excess pieces to cover up that space. I taped those down as well.
 And there you have it! All done. Looka my widdle mish-mush! ♥
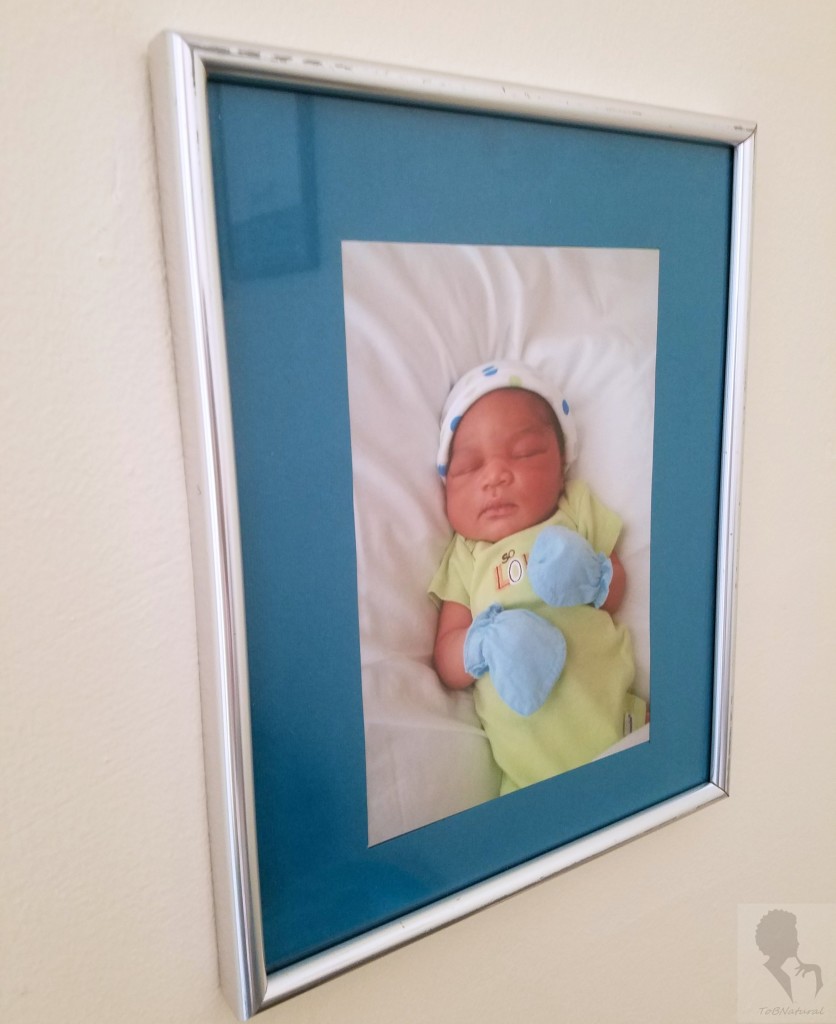
Sure, you can buy ready-made photo mats but you may not always find the color or design that’s just right for the look you’re going for. With a DIY photo mat, you get just what you want every time. The teal paper I used was only like $.60 plus 50% off at the time — definitely a cost-effective way spice up photos around the house.
If you thought this was helpful, go ‘head and Pin It! 😉
Since I was a little thing, I’ve looked for ways to use what I have to decorate my room or for quick fixes. I slowly got away from that as adulting became my main concern. But now that I’ve got more time as a SAHM, I can get my creative juices flowing and actually execute some of my ideas… as baby will allow, of course. 🙂
I’m looking forward to finishing up Micah’s room and doing more DIY projects around the home!
Now that summer is just about here, what DIY projects do YOU have coming up?


Good job! A momma has to be resourceful lol
LaNeshe recently posted…A Sesame Place Adventure
Author
LOL definitely! And thanks for always taking the time to read and comment! 😉
So easy it makes me mad I didn’t think of it myself! Loving the new site too!
Ijeoma Eboh recently posted…California Living + Reggae Blues
Author
LOL! There’s so much we can do with stuff we have laying around. I’m so #TeamDontSpendMoneyIfIdontHaveTo as well as #TeamImNotLeavingTheHouse LOL! So I make things work. And thanks so much! Glad you’re digging the new look.